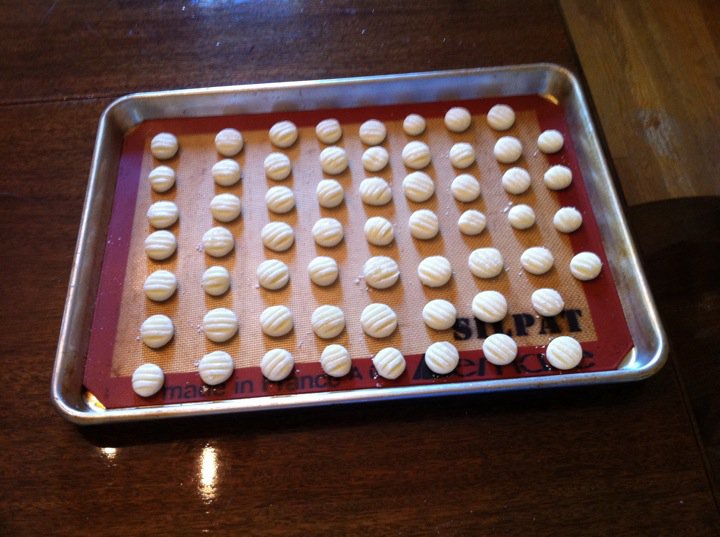
I have been making these mints for a long time! On the recipe card, I have a note that says in 1997 this recipe made 60 mints and cost $1.00 to make. Not bad! Those were for my wedding and at the time I was counting all my pennies and making some of the reception food myself. I made several batches in advance and saved $$$.
Fast forward 20 years.
Yes, we just had our 20th wedding anniversary last month! And in 10 days, my daughter will be graduating from high school. These mints will be at the party!
This is a very simple recipe that doesn’t cost much to make. These mints are a staple at our parties – they melt in your mouth.
Here’s what you need:
16 oz. (1#) box of powdered sugar
1 stick (1/2 c.) unsalted butter, at room temperature
1/2 tsp. peppermint extract
up to 1 Tbsp. milk (if needed)
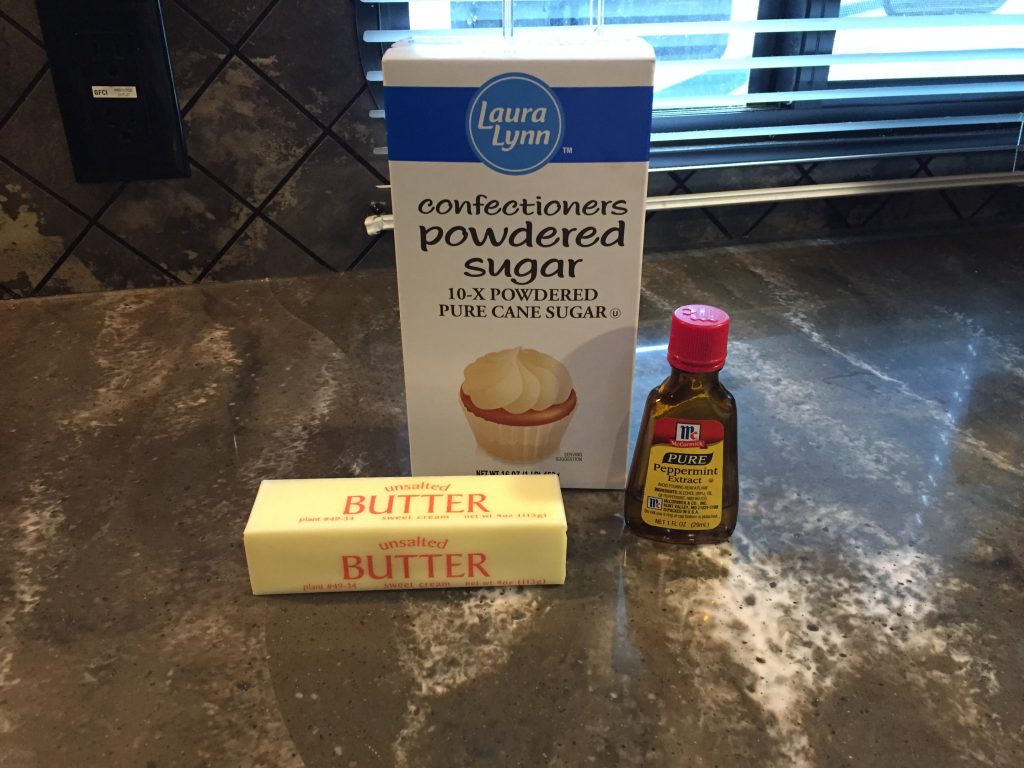
Place the butter and half of the powdered sugar into a mixing bowl. I use my stand mixer for this.
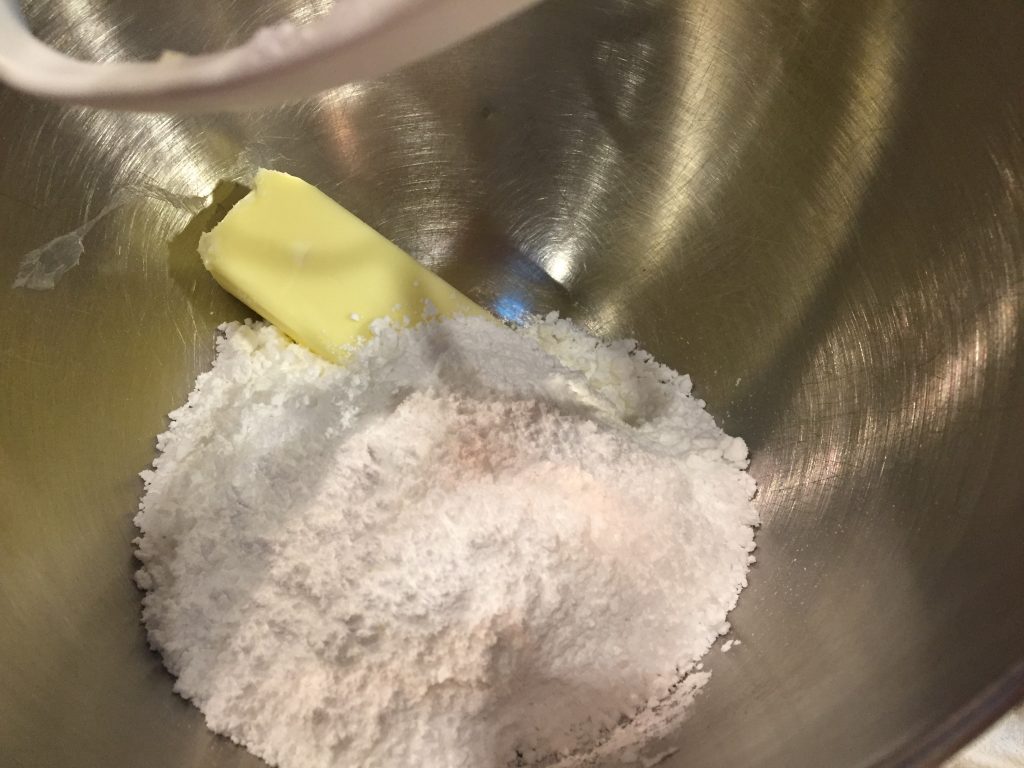
Mix until combined.
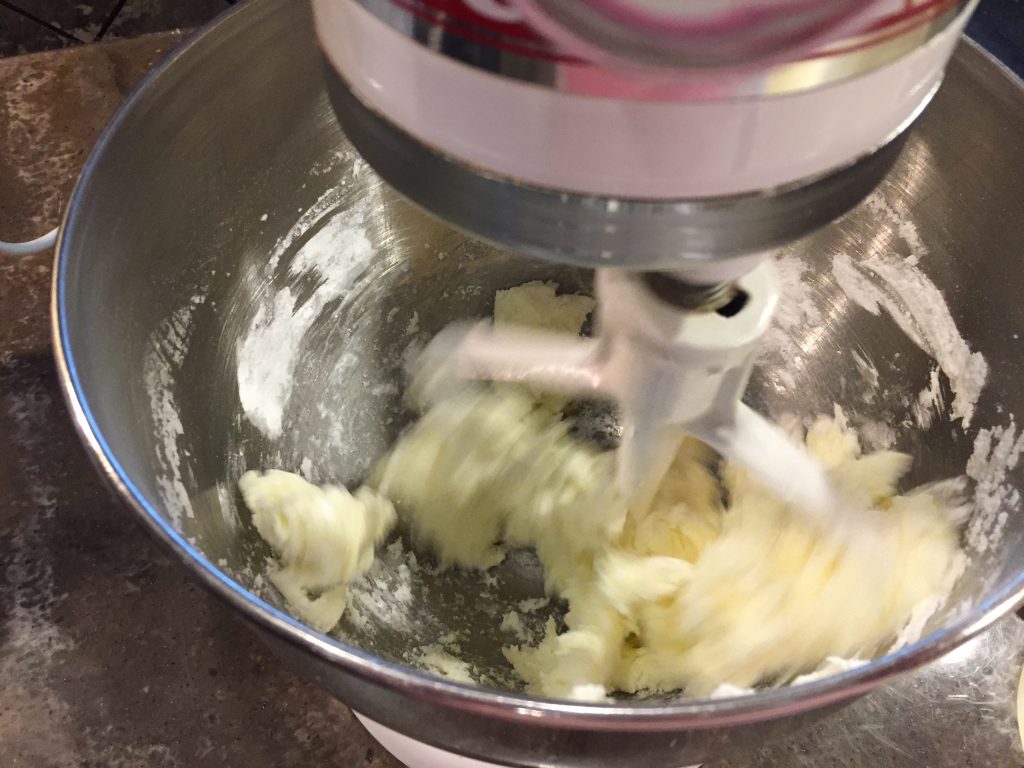
Add in the rest of the powdered sugar and the peppermint extract.
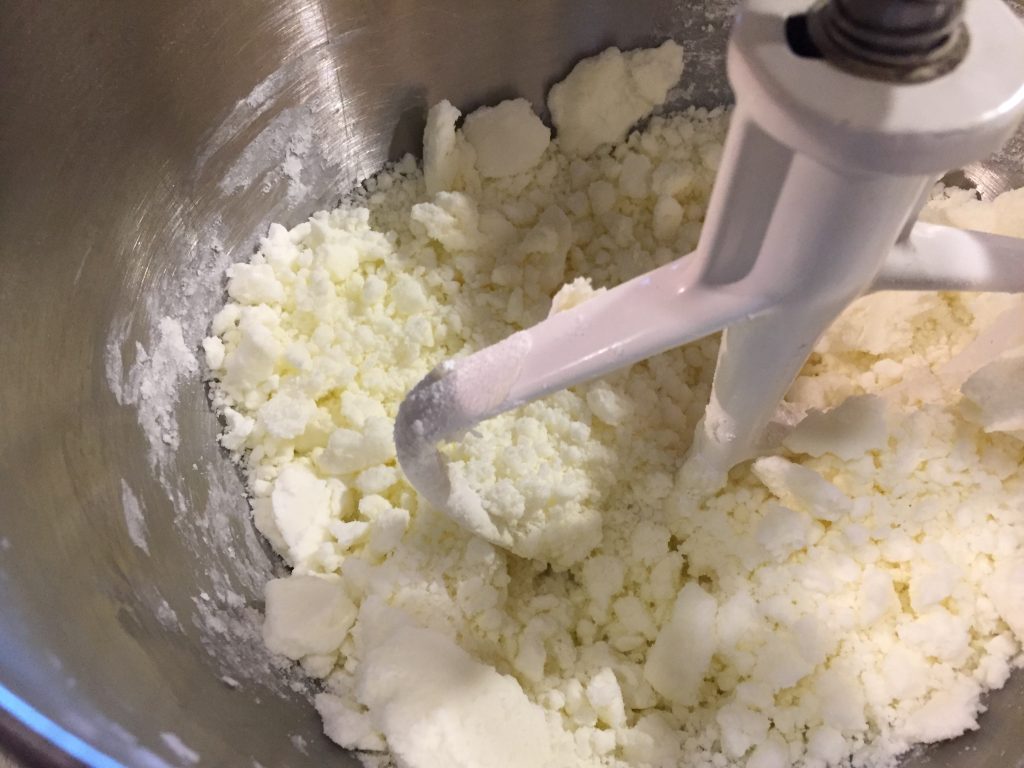
If the mixture looks too dry or won’t come together into a dough, then use a little milk. This is how my dough looked, so I added 1 and 1/2 tsp. of milk.
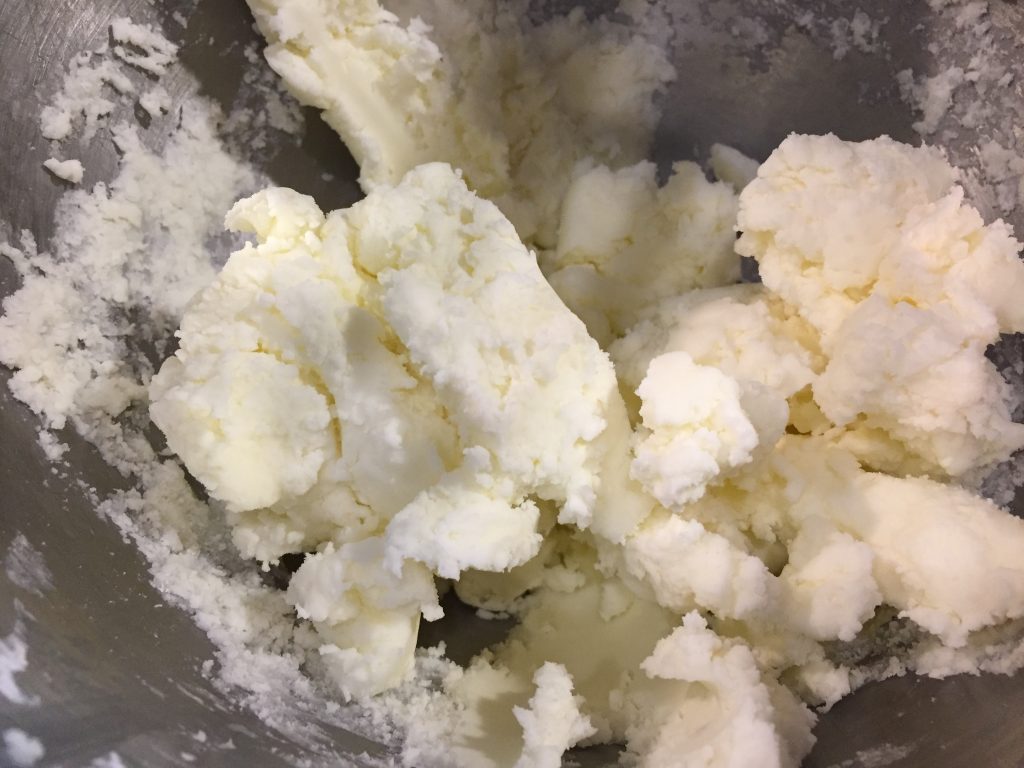
This is how it should look. You should be able to pinch off a piece and roll it into a ball. If it is too dry to stick together and roll, add more milk.
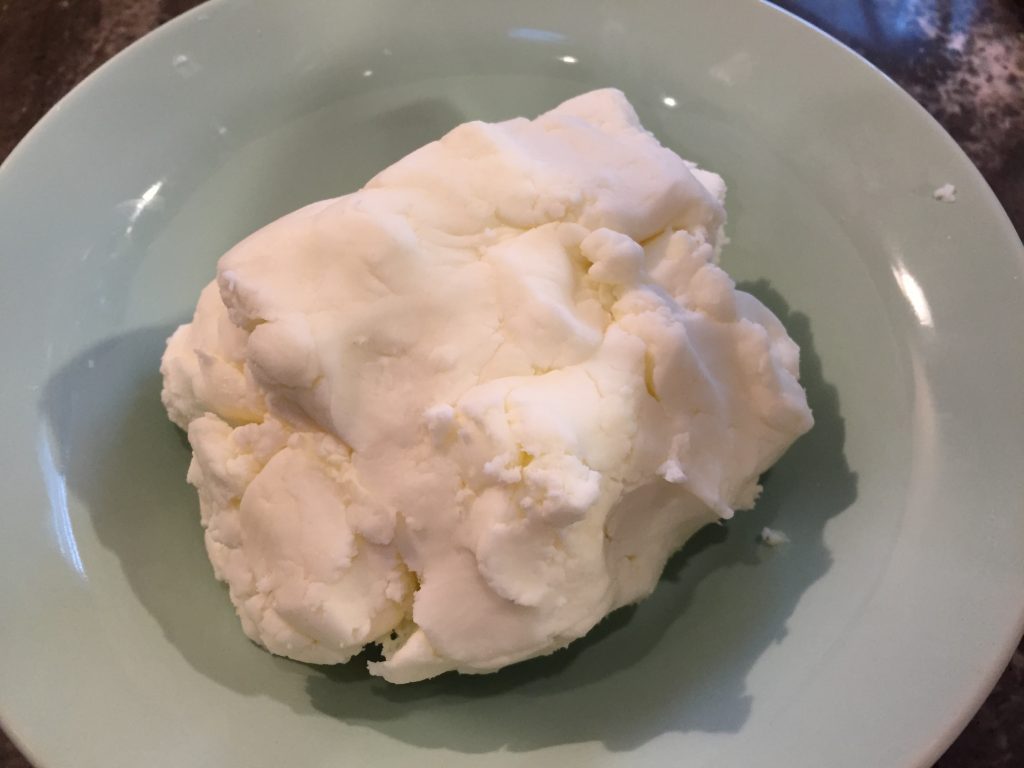
The whole amount will easily fit in a cereal bowl.
Place parchment paper or a silpat on a large cookie sheet. Scoop out mints using a 1 teaspoon measuring spoon. Small is better here. Just enough to melt in your mouth. Not cookie size. I did a scant (slightly less than full) teaspoon here. Roll each scoop into a ball.
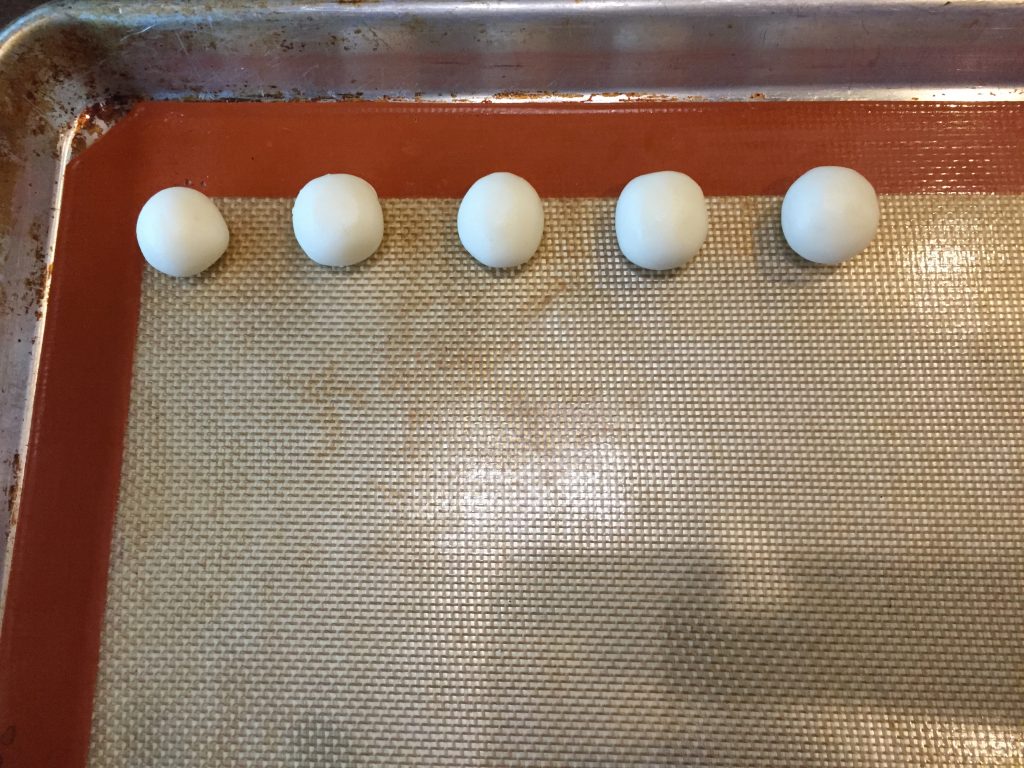
Using a fork, lightly press the fork tines into the top of each ball.
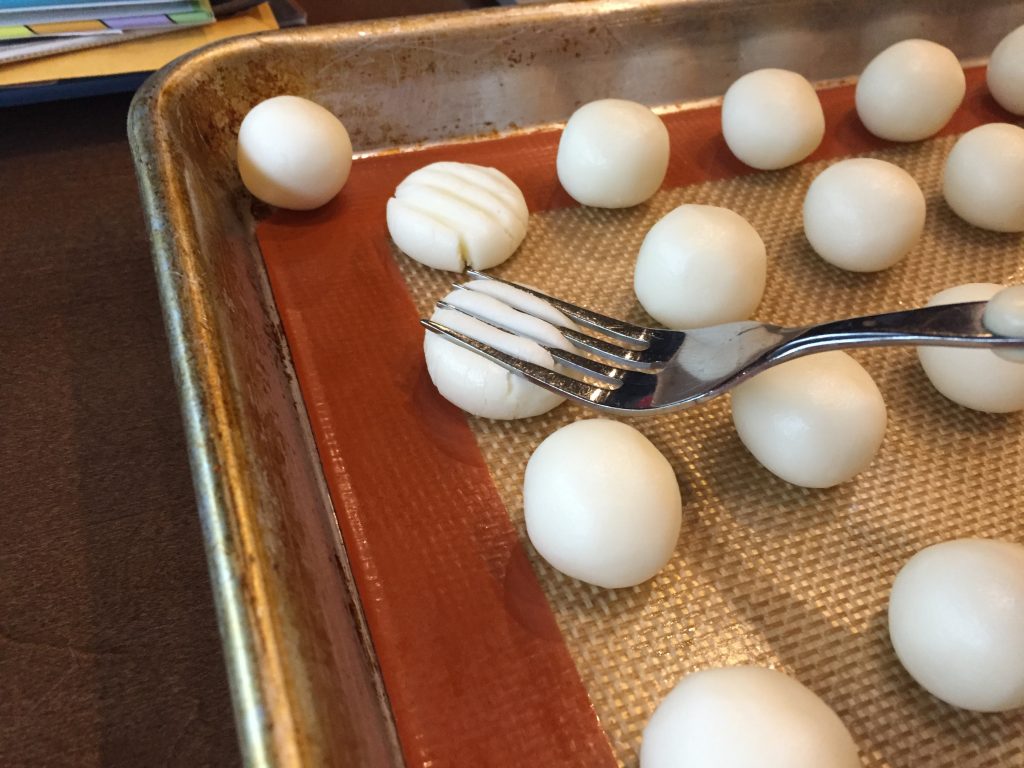
Let dry for several days uncovered. An empty oven should work if countertop space is limited.
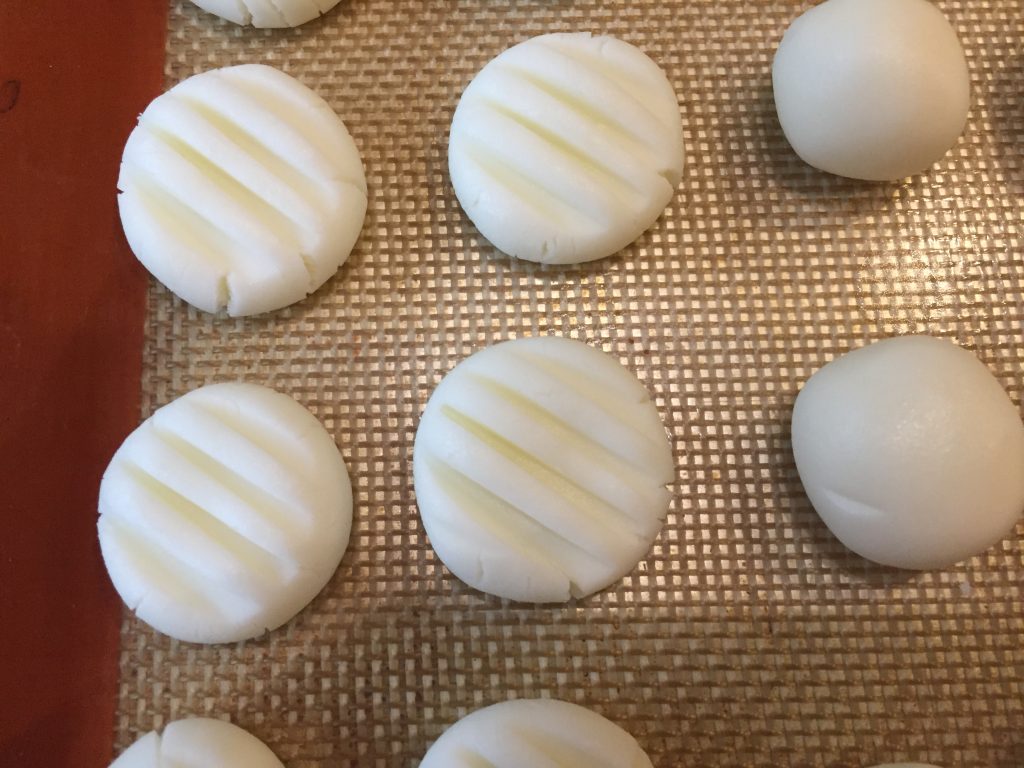
If you want to make mints ahead for an event, you can freeze the mints before drying. Place mints carefully in single layers – with waxed paper between each layer. Freeze in airtight container. Two to three days before the event, remove from the freezer. Place *paper towels* on the cookie sheet and lay out mints. Let dry until the event. The paper towel absorbs any moisture from the freezer. You don’t want the mints to be mushy.
For Christmas, you can dye half the mints green and leave the other half white. Serve in a red dish. They can also be dyed for baby showers or other types of parties. Try to stick to pale, light colors. The brighter you want the color to be, the more food coloring you will need to use. Excessive food coloring can change the taste of the mints and also stain plates. I’ve found that no food coloring is the best tasting option.
Mints
Prep Time: 30 minutes
Drying Time: 2 days
Makes: 60 mints
Serving Size: 2 per person
Ingredients
16 oz. (1#) box powdered sugar
1 stick (1/2 c.) unsalted butter
1/2 tsp. peppermint extract
up to 1 Tbsp. of milk (if needed)
Instructions
Place the butter and half of the powdered sugar into a mixing bowl. I use my stand mixer for this. Mix until combined. Add in the rest of the powdered sugar and the peppermint extract. If the mixture looks too dry or won’t come together into a dough, then use a little milk.
Place parchment paper or a silpat on a large cookie sheet. Scoop out mints using a 1 teaspoon measuring spoon. Small is better here. Just enough to melt in your mouth. Not cookie size. Roll each scoop into a ball. Using a fork, lightly press the fork tines into the top of each ball. Let dry for several days uncovered. An empty oven should work if countertop space is limited.
If you want to make mints ahead for an event, you can freeze the mints before drying. Place mints carefully in single layers – with waxed paper between each layer. Freeze in airtight container. Two to three days before the event, remove from the freezer. Place *paper towels* on the cookie sheet and lay out mints. Let dry until the event. The paper towel absorbs any moisture from the freezer. You don’t want the mints to be mushy.
Notes
For Christmas, you can dye half the mints green and leave the other half white. Serve in a red dish. They can also be dyed for baby showers or other types of parties. Try to stick to pale, light colors. The brighter you want the color to be, the more food coloring you will need to use. Excessive food coloring can change the taste of the mints and also stain plates. I’ve found that no food coloring is the best tasting option.
For more easy recipes, visit theroadscholar.me
Comments