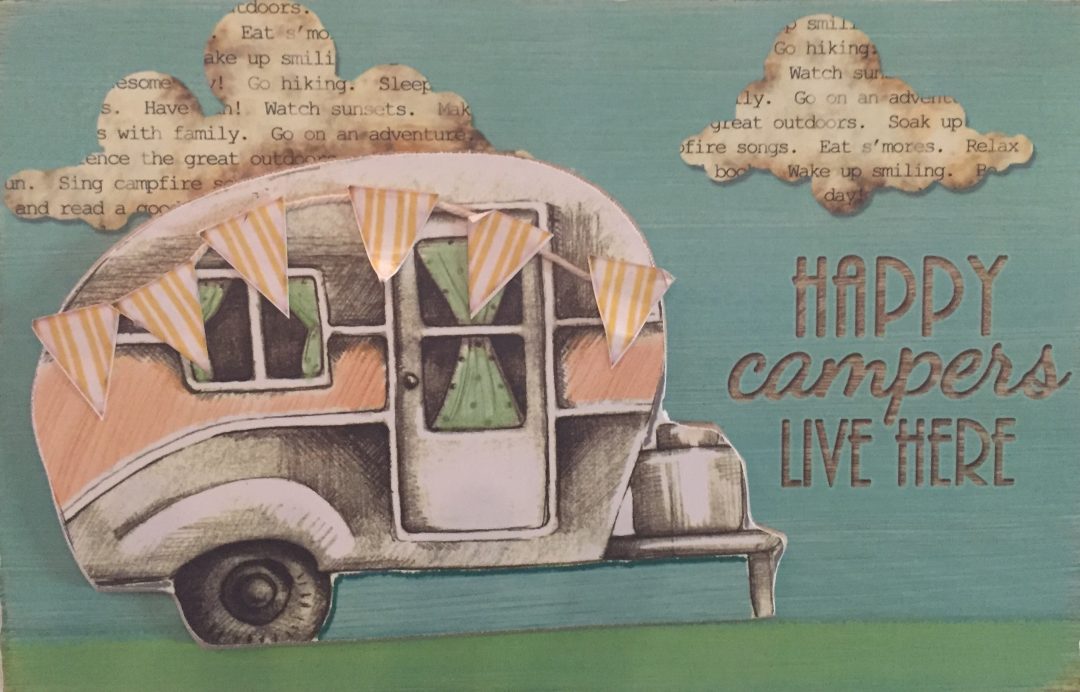
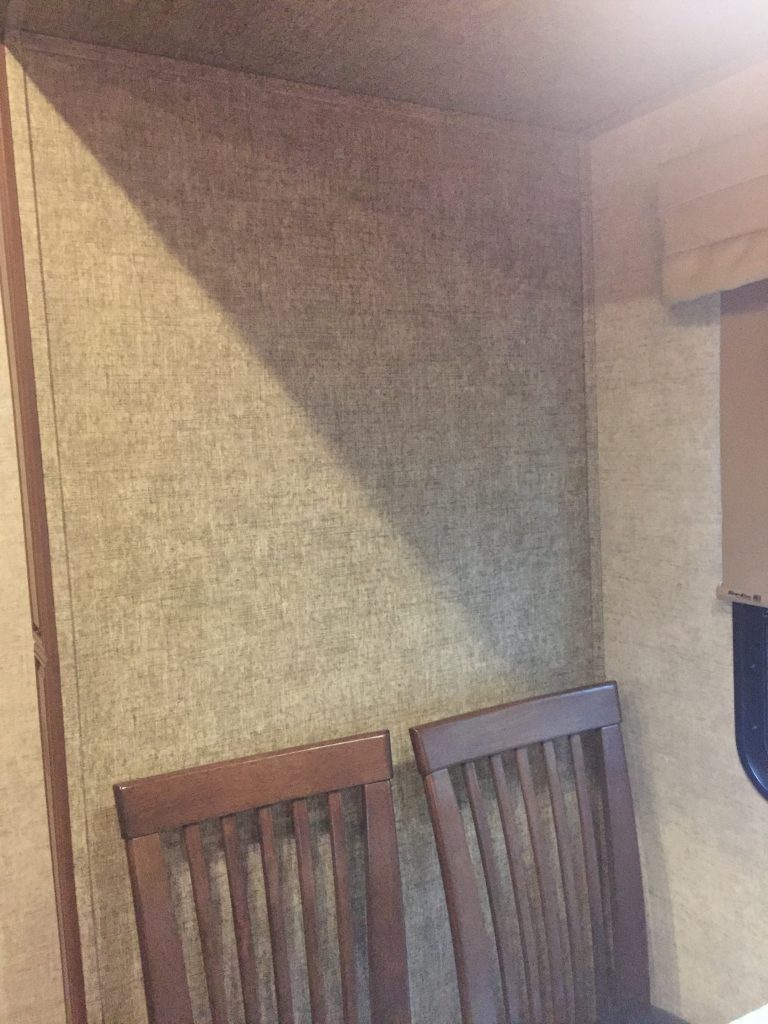
There isn’t much “wall” space in an RV. Every square foot has a window or cabinet in it. When our coach went back to the factory last fall, we made the choice to remove a window in one of the wall slides.
This left us with a small wall behind our dining table. I have been very excited to have a small space to decorate! The trick would be hanging something on textured wallpaper and then removing it without making any holes or tearing the wallpaper. I decided to start small and use Command products. (And no, Ha (!) I am not a spokesperson for them.)
I began using Command strips back at our house on Balfer, mainly for hanging party items. Soon I began hanging our regular pictures with the strips. When we had to take down the pictures to move, the strips caused the least (and almost zero) damage.
So I decided to give them a try here on the wallpaper. I initially hung a plastic tab and suspended a light felt Valentine cutout. That worked great!
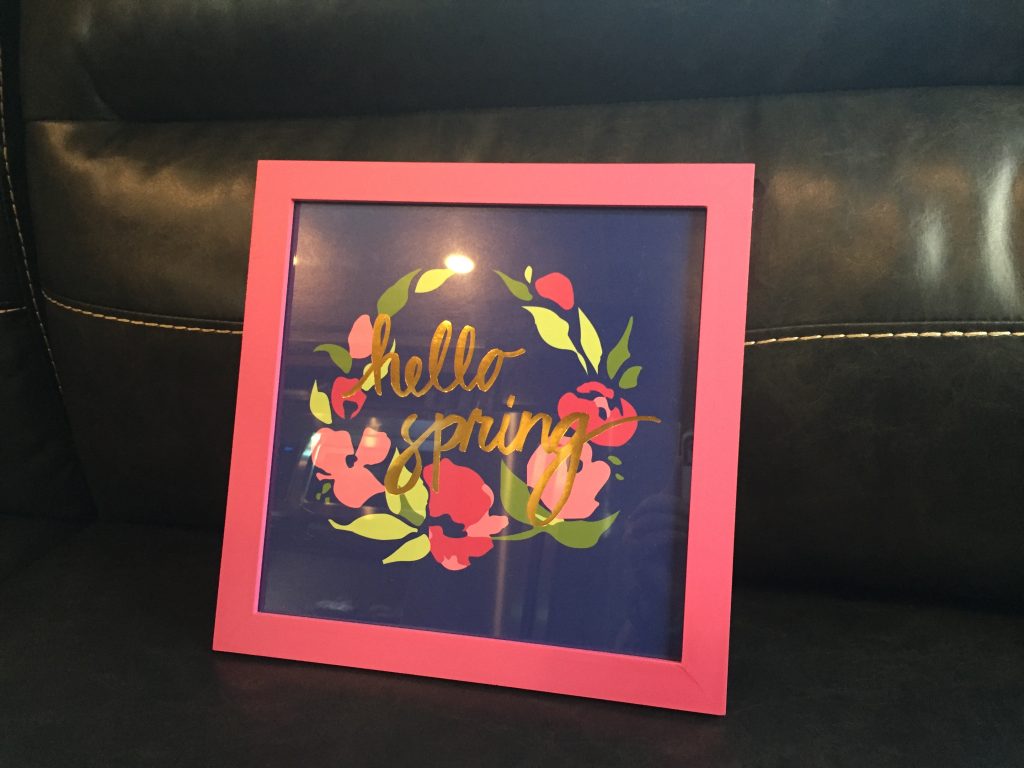
Next, I used small strips and hung a hello spring decoration that I found at Target in the dollar section. Again, success!
To take that down, I used a butter knife and separated the velcro strips. The frame with one set of velcro strips popped off. The remaining set of velcro strips stayed on the wall. I actually could have left them there and mounted my much larger picture over top and then reused them at a later point. But I wanted the wall to stay clean. So I removed the strips stuck to the wall by gently pulling on the round, plastic-y tab and sort of wiggling that back and forth a little until the whole strip was removed.
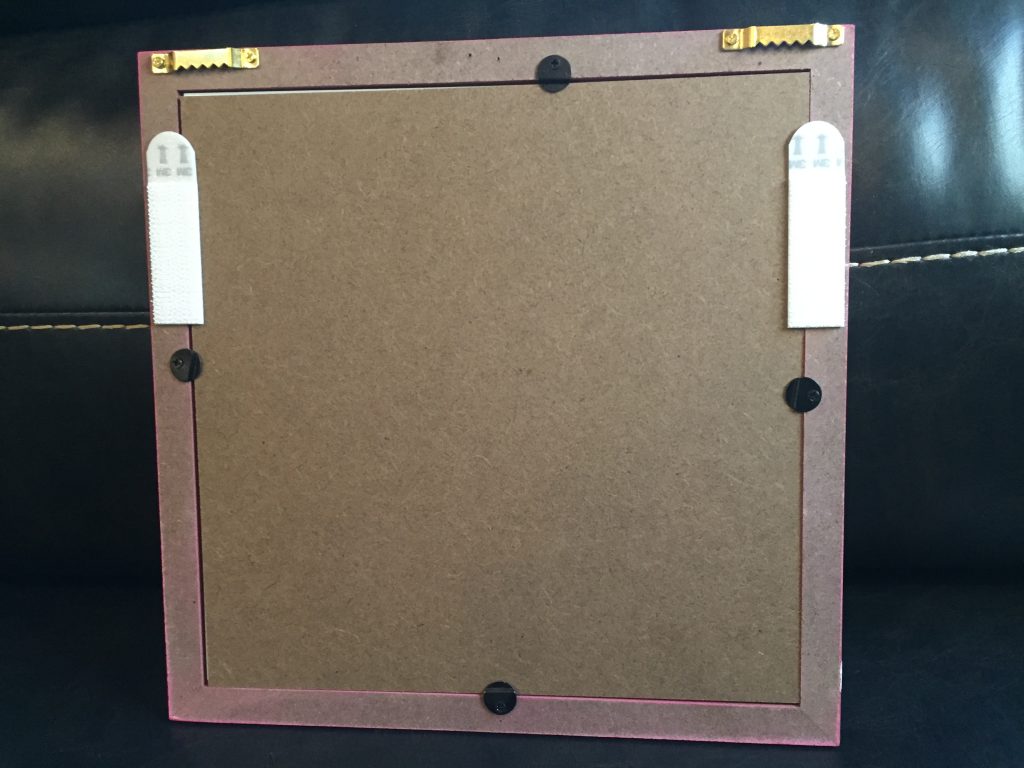
You don’t want to yank it off the wall – although it might let you! That is when the wallpaper will want to come with it.
This week, I went to Hobby Lobby looking for a certain color combination as well as a larger piece this time. I found a nice large piece with a good combination of colors – and it was lightweight.
Here are the medium velcro strips I already had in my office supplies box. I love office supplies.
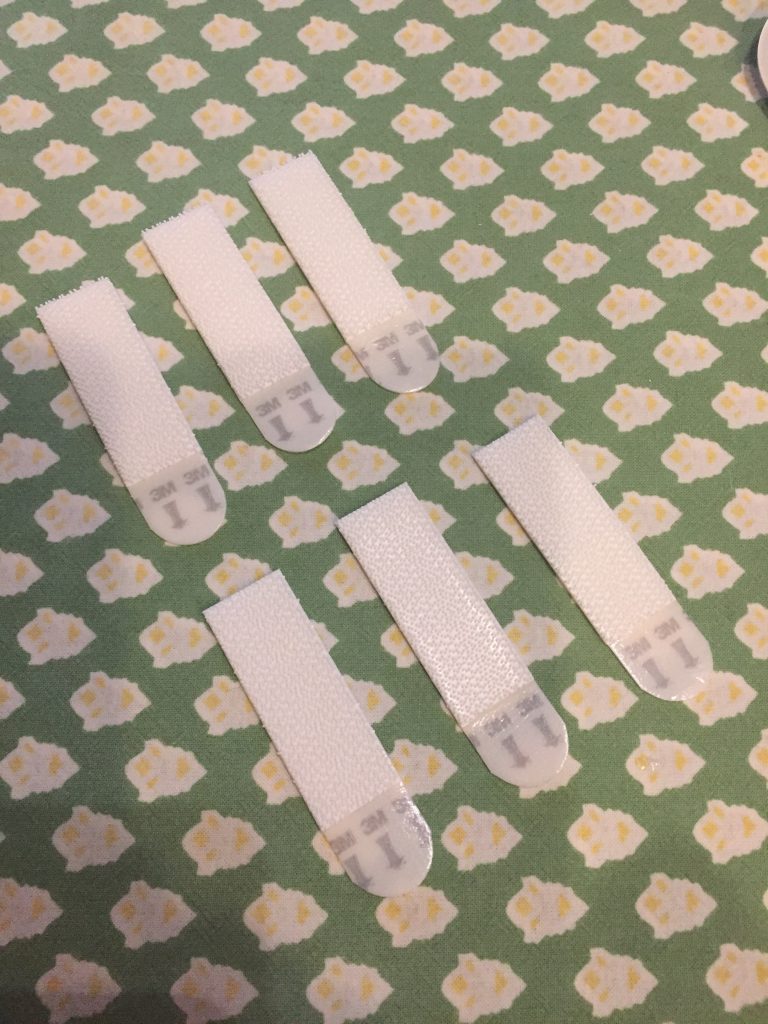
Take two strips and stick them together. Make a velcro sandwich.
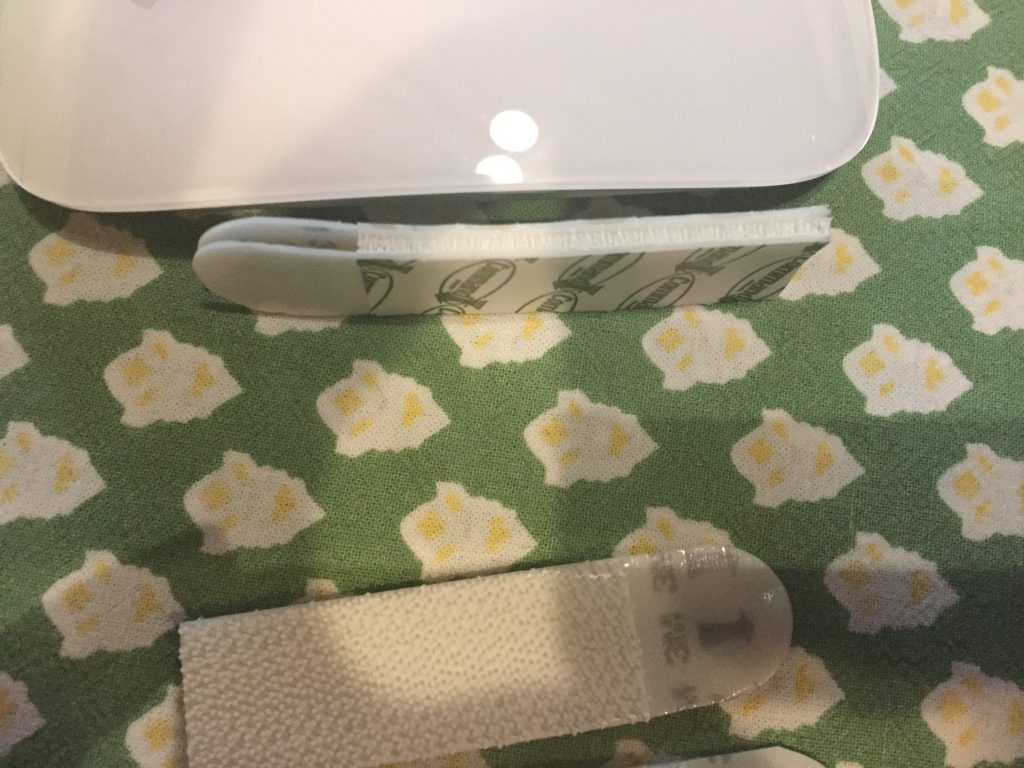
Then you peel one sticker off of your velcro sandwich and attach to the frame. Once all the strips you want are attached to the frame, then you peel off all the backing pieces and attach the sticky side to the wall.
I wait until I am definitely ready before doing that last step. It is like uncovering three or four bandaids sticky side up. You have to be ready. And yes, I forgot to get a picture.
But here is my new picture successfully on the wall. I love it!
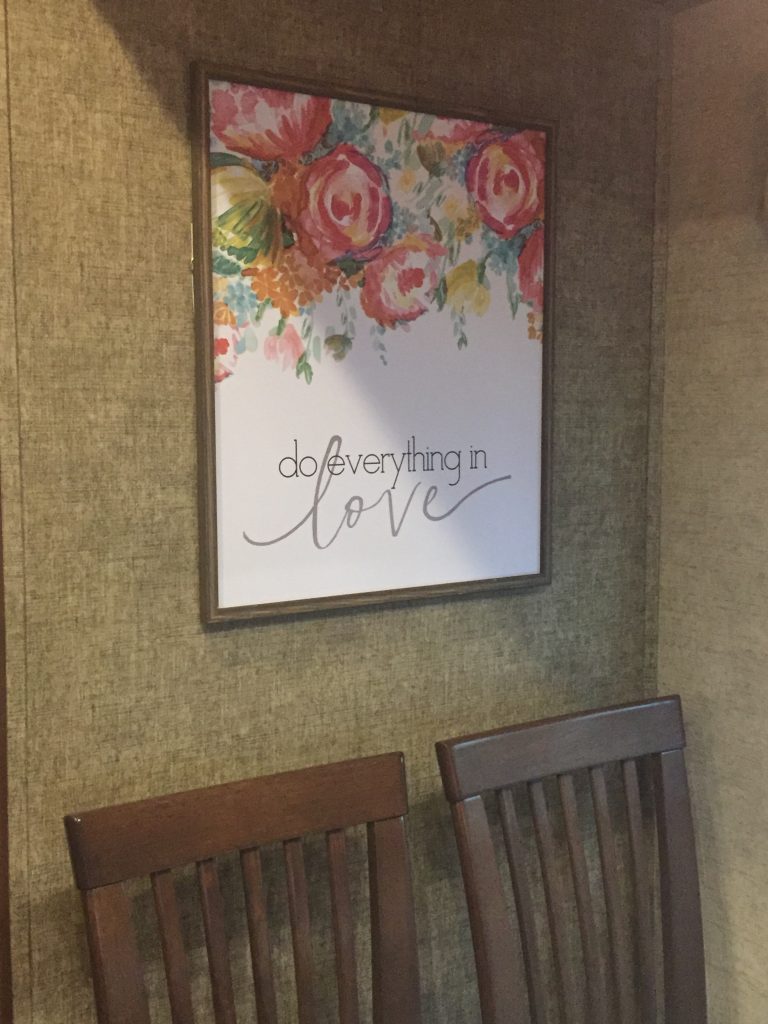
I usually eyeball it for level, but you can get help at this stage. Once you stick it to the wall there is no adjustment. Just press where the strips are and don’t pull on it.
When you are ready to remove the picture, don’t grab the picture off the wall. Make sure to separate the velcro strips and leave the strips on the back of your picture! You can reuse those. You will just need to purchase new ones to sandwich with them before rehanging the picture.
The large package of strips comes with 4 sets of strips and can hang up to 16 pounds. So each set of large strips will hold approximately 4 pounds. I had medium strips and this was a large – although not heavy – piece. I used all three “sets” of strips. I use more to keep it level and so there isn’t a problem as the adhesive struggles to hang on.
As I take down seasonal decorations, I store them in a clear storage box under the rv. All of my decorations are supposed to fit into that box. I don’t think this one is going to fit! I will give you a tour of my seasonal box the next time I get it out – when school starts and I need to see some pumpkins!
Comments