Nature Study baffled and intrigued me. Charlotte Mason said go outside and learn. And I wanted to go.
I wanted to be the person who traversed the meadows – calmly pointing out where swallows nests were located and what type of coneflower this particular variety would be. And that tree? yonder? O, it is a fine European Spruce.
Ha! You can see I still don’t know my stuff!
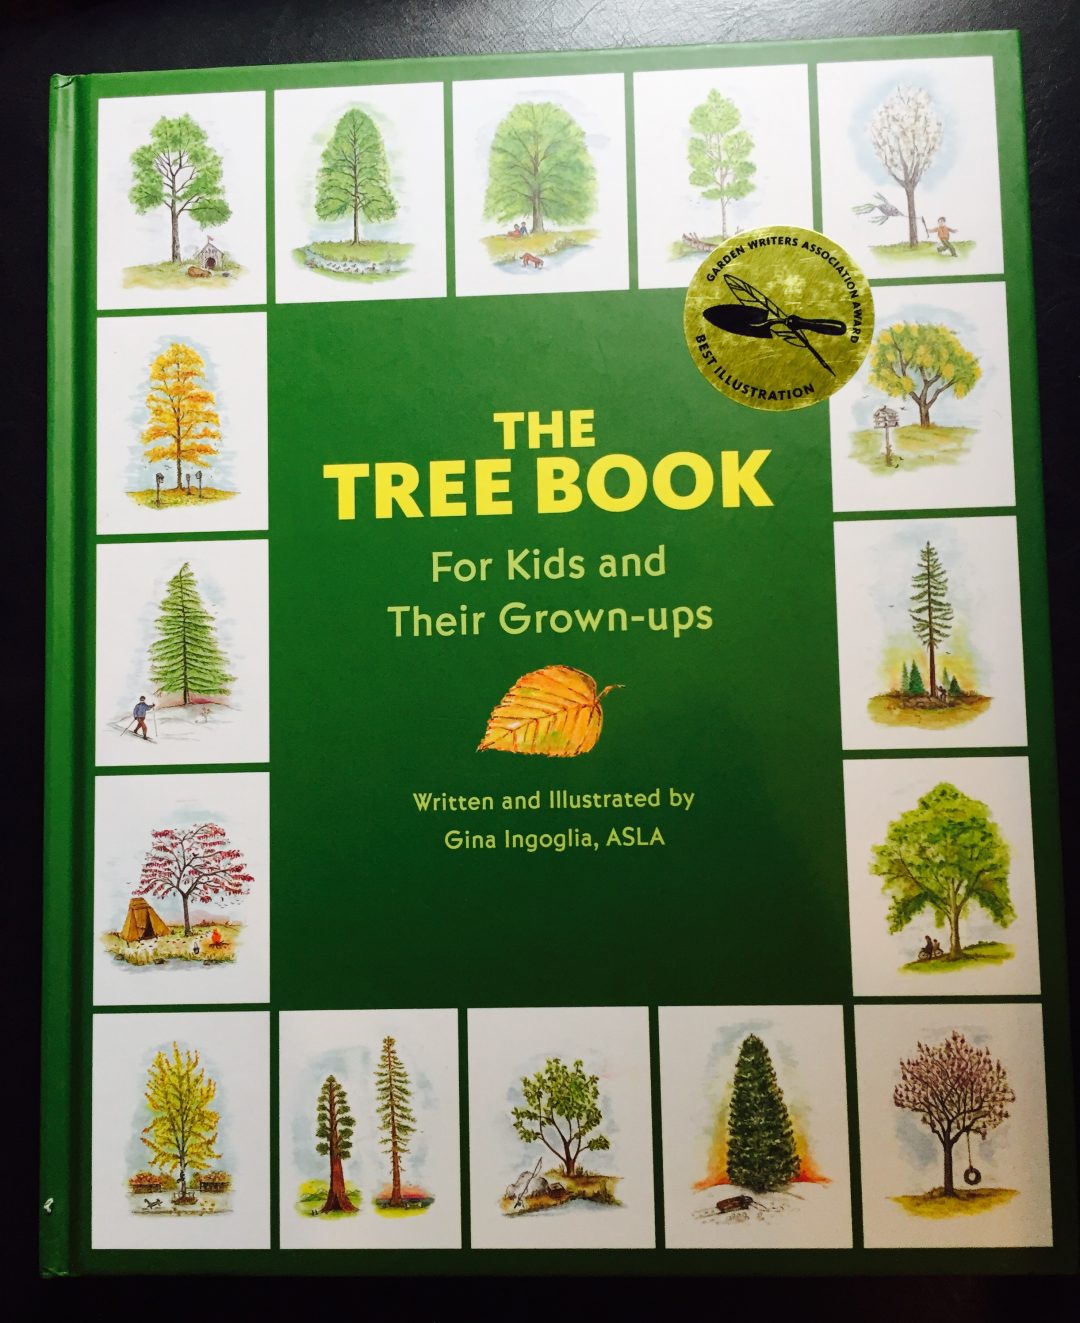
So where do I start when I know literally nothing? I think, this book!

Here are the spreads with the table of contents.

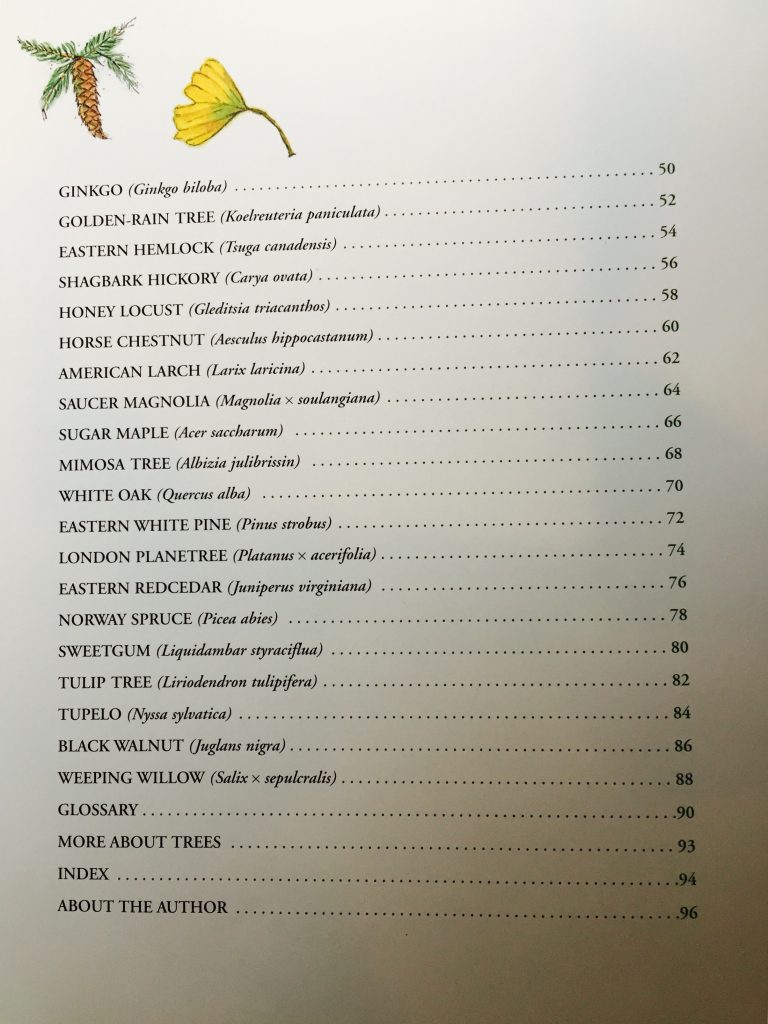
33 trees in all! This is an amazing spine book (see this post) for learning about nature study. Just enough material to get you excited about learning scientific names, finding an arboretum or identifying leaf shapes. You can take this information and move in different directions with it.
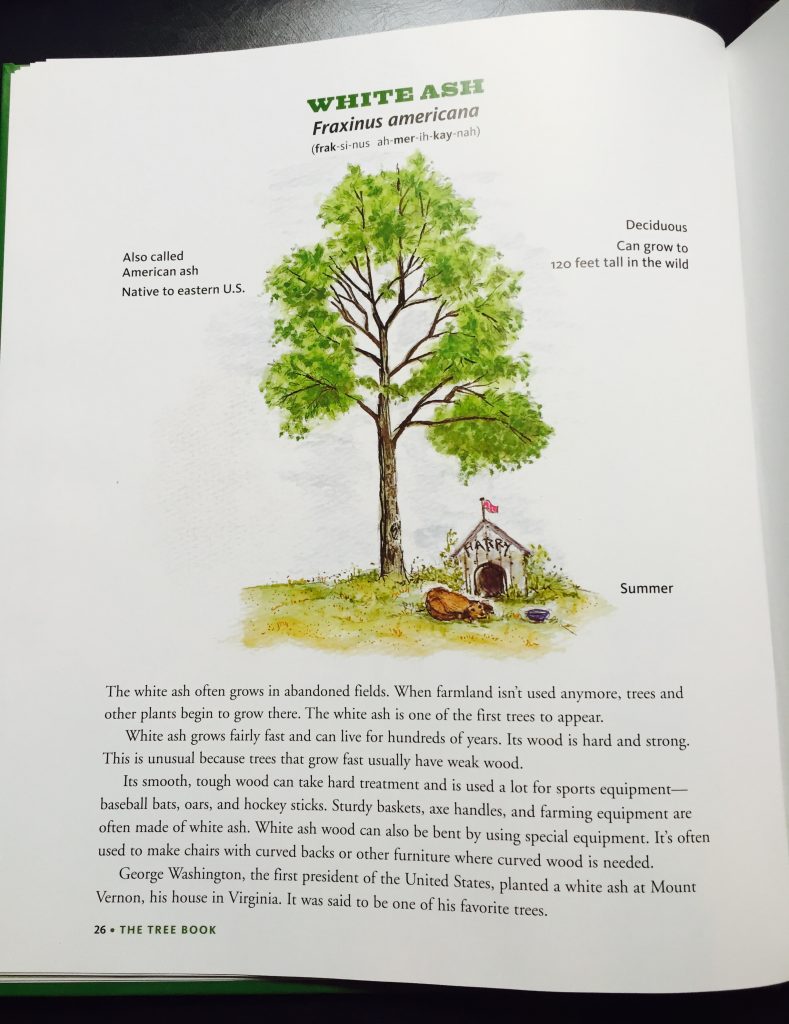
First, I’ll show you a spread of the first tree featured. And then I’ll give you several ways to use this book as a jumping off point for doing fun activities with your kids – this summer and all through the year.

Idea #1
See how many of these 33 trees you can find in your area. Cut up strips of white poster board and keep that, a sharpie marker and this book in the car. When you see a tree on the list (maybe at a friend’s house, while out-of-town, at an arboretum) write the name down on the strip of poster board and take your picture with it! It can be an ongoing scavenger hunt with your kids. Some people know lots and lots about trees and are willing to share with you and your kids. Ask at the apple orchard. Ask at the living history farm. Keep asking and taking those photos. Then when you feel like you have gotten as far as you could, take those photos and make a short photo book. You will have your own reference work! Your kids will have fun stories of all the places you went to look for trees!
Idea #2
Start a little smaller. Look in your own front yard. Do you have two or three trees? What about your neighbor? Are their trees possibly different than yours? Great! You can do this one. No travel involved.
Make a little map. It can be simple like this. With a circle for the tree. Then number them in whatever way makes sense to you.
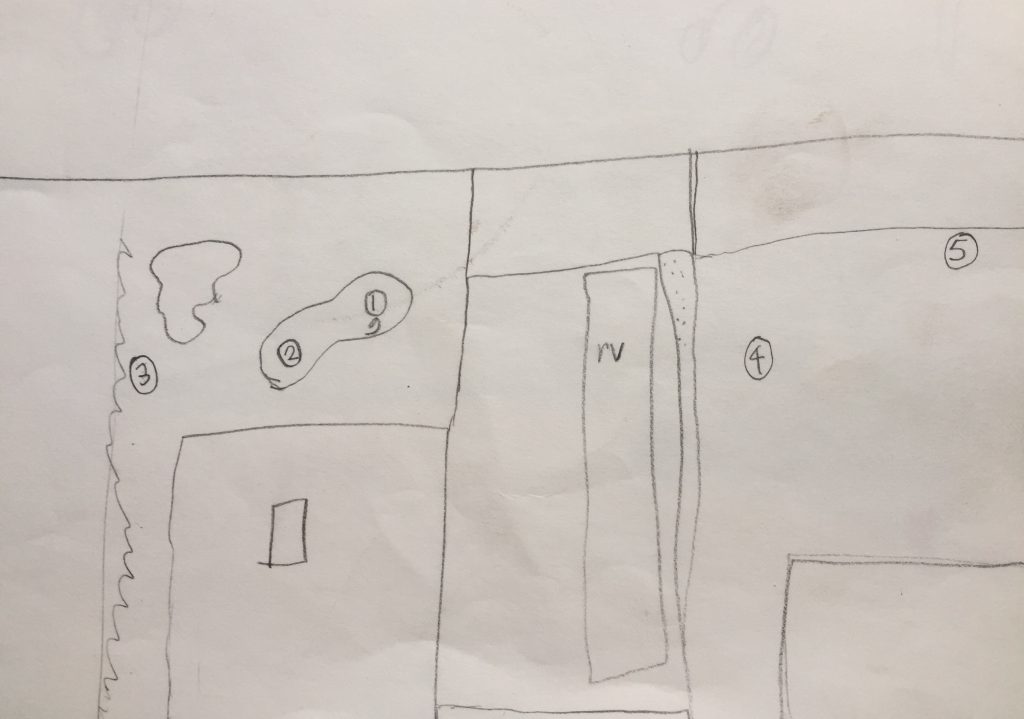
These were the five trees we were going to start with first. Three were in our front yard (grandma’s front yard – that is our rv in the driveway). Two were next door in the neighbor’s yard.
You don’t need to map the entire neighborhood. Start small.
The goal is to identify the first tree on the list. Whenever it is convenient, go outside, pull off a leaf and look at it. Look at the bark. Talk about what you see. If you already know the name, that can be helpful! But it’s fine if you are learning too.
From the jagged shape of the leaves, I felt pretty confident that trees 1 and 2 in the yard were maples, but I wasn’t sure which kind. The book shows sugar maple and that didn’t match. But we could have said maple given the matching characteristics and moved on. We could have written maple (!) on our white poster board strip and taken a picture. High-five each other and on the top of your map write a number 1 and circle it. Then write the name you came up with – maple.
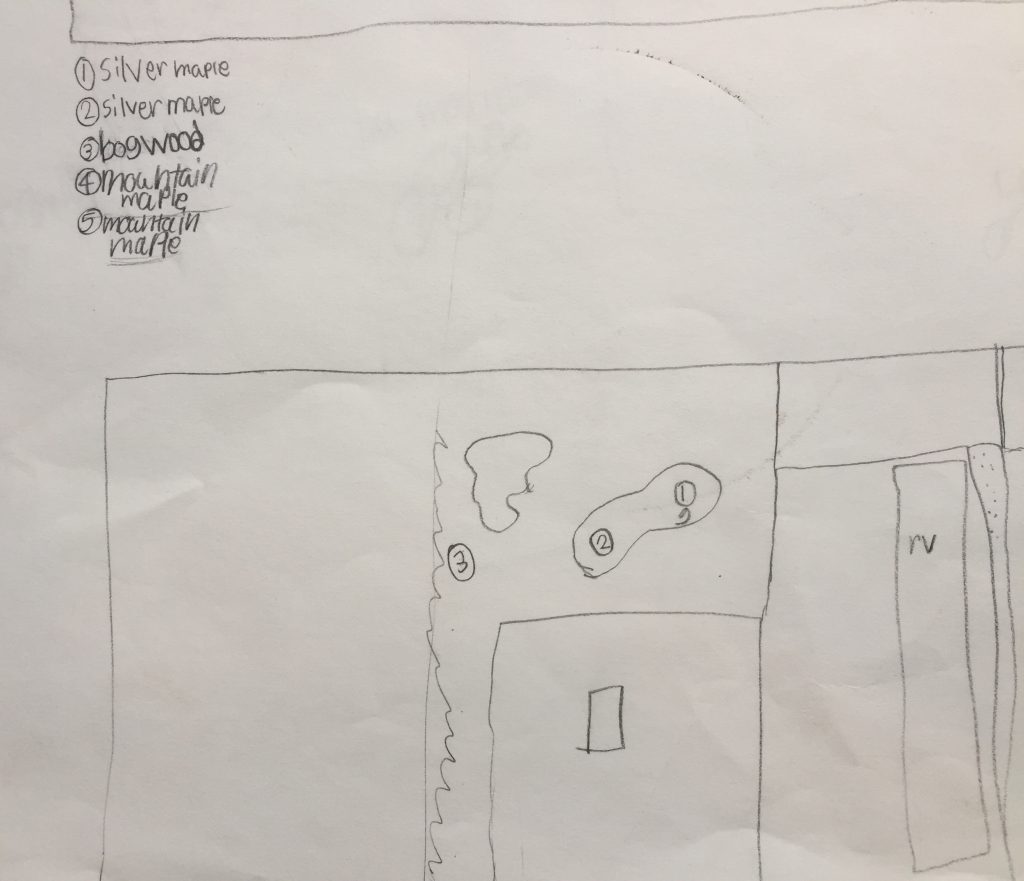
If you want to go further, you can check a field guide. I purchased some little hand-size field guides at a used book sale last year. We checked those and came up with silver maple. Yay! The neighbor’s trees turned out to be mountain maples.
This is supposed to be fun! If it inspires them, they might want to add pieces to their map and do the entire street. Or they might want to stop here. Either is fine. We stopped here and did other things. All good. Now you know! I have a silver maple. You can now reference your own trees. Yay, you!
[If your kids are into pirates and treasure maps, you could start off by saying you are making a map of the trees in the yard – for a treasure map. Once the trees are catalogued (even over several weeks), you could reference them in clues (go to the sweetgum tree and turn until you see the garage – walk 10 paces) and hide a prize for your kids – to say – great work! And reinforce your learning fun.]
Idea #3
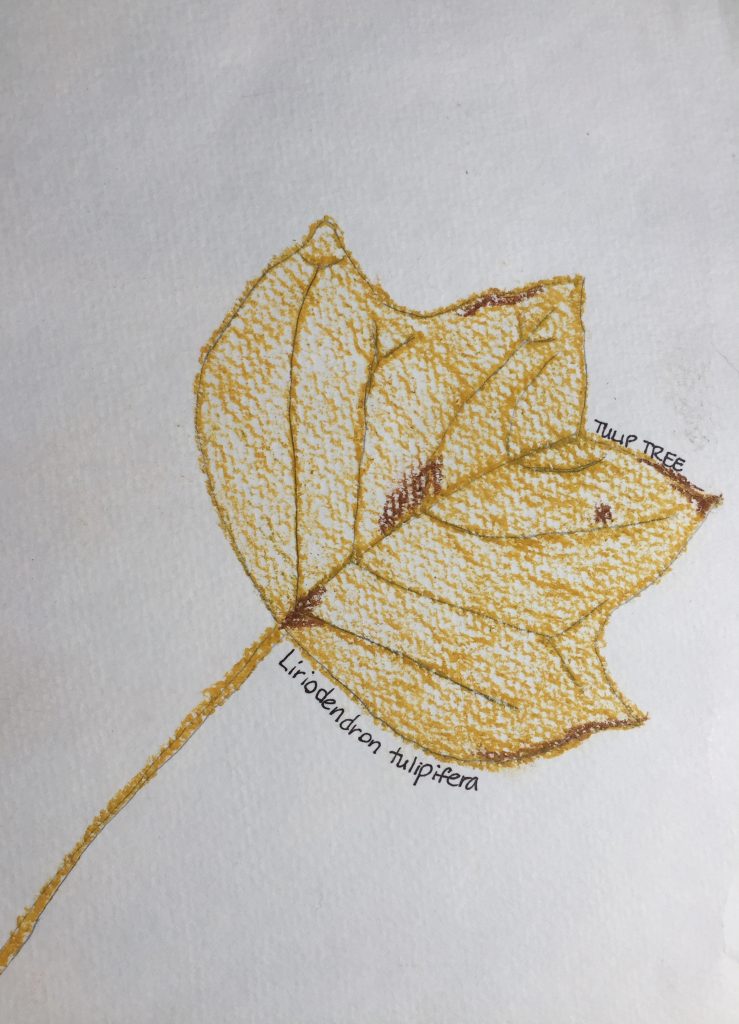
This is more of an art idea. Collect leaves from trees that you have identified (or will identify). Trace the shape of the leaf – full-size on your paper. Try to mark the veins. Color or paint the leaves. Mark them with the tree name and the scientific name. Fit as many on the page as you can. This can be done in summer and then again in fall. Nothing wrong with identifying or drawing green leaves! You could even leave space to follow back up with the fall version. Did the leaf turn red? yellow? orange?
There will much more nature study to come! I love nature study and am always looking for books and games and ideas to try!
[By clicking on this link and purchasing from Amazon, you support this site. I hope to be able to begin to cover the costs of this site and in the future to use this site to help support my family. Clicking on a link never costs you anything. I will never promote a product that I do not love/own/believe in myself. I want you to love coming to my site and not ever to feel overrun with ads. No trucks will ever run across the screen as you try to read. Love to you, my readers!]
Comments